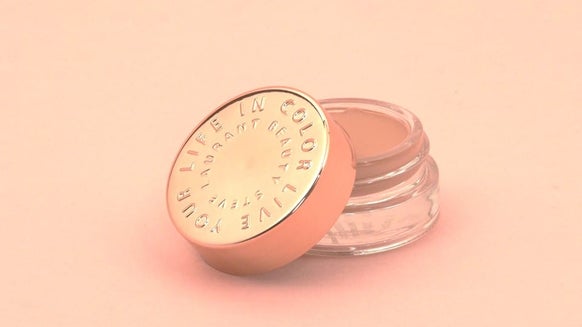
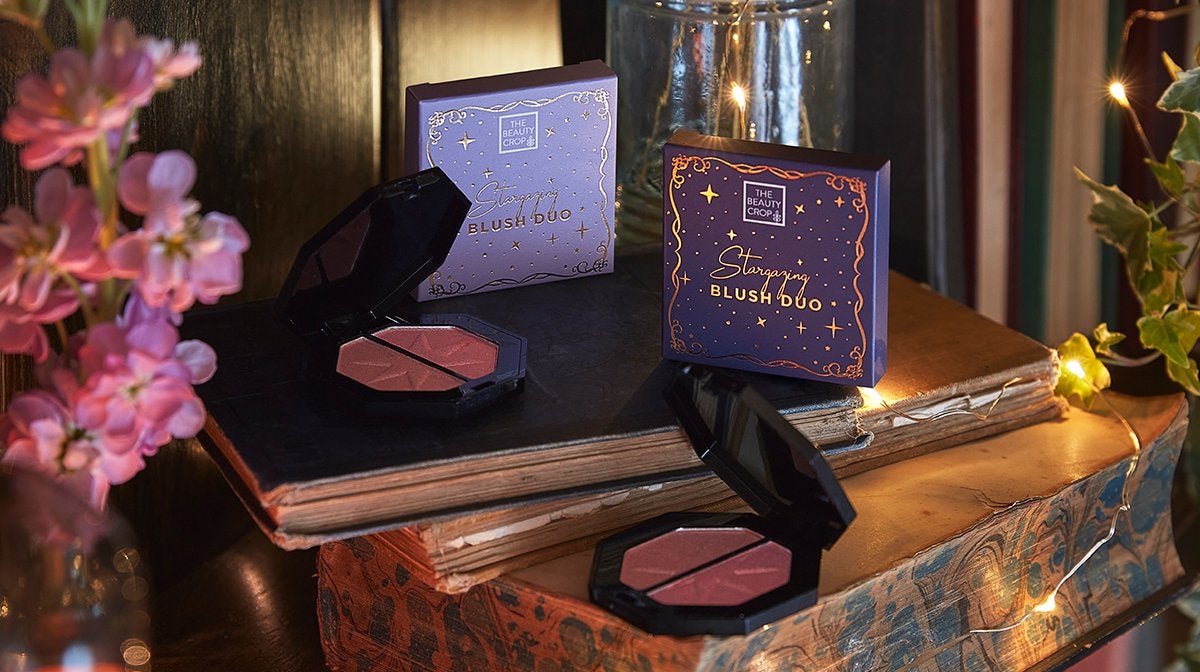
The Beauty Crop’s Blush Duo Is A True Beauty Tale
This month we’re bringing you our unique Glossy twist on Halloween. Based around a mystical folklore called
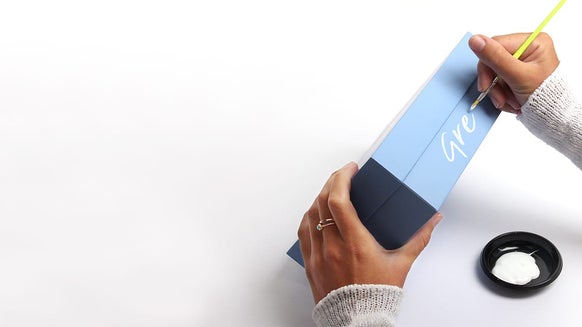
Be Entranced By This Custom Design Blush Duo
Fairy-tales are told over and over again, everyone knows them... But this
How To Beautifully Apply Blusher
Step 1: Prep your skin and apply your base
Before applying your blush, you should ensure you’ve already gone through your usual skincare regime and applied your foundation and/or concealer, if you’re choosing to wear any. To enhance the glow your blush is going to give you, try to opt for hydrating and moisturising products that’ll add a natural shine to your skin.
Applying powdered brush straight onto liquid foundation, can sometimes lead to your blush not gliding on as well as it should. Similar textures work best together, so make sure to set your makeup with setting powder before putting any powdered colour onto your cheeks.
Step 2: Apply your blush
First steps Glossies, is to choose your blush. Can't choose? Neither can we, so lets opt for both! Apply the rosier coloured b
Not sure where the apples of your cheeks are? Smile just slightly and then apply your blush right where your cheek
Whichever type of blush you’re using, always start light and blend more as you go. You don't need much to give yourself a natural-looking, flushed cheek.
Step 3: Add another shade
After you've applied the rosier shade of blush, why not add the darker shade as bronzer? Sweep this down under your cheekbones in the natural hollows of your face to create an instant contour.
Step 4: Ensure your look is even
Once you’ve finished your look, ensure you check your cheeks to make sure that your colour is even (and flattering!). If you’ve gone a little OTT, grab a brush or makeup sponge and blend down your blush until it is reflects a more subtle look.
Order Your October ‘Beauty Tales’ GLOSSYBOX
Subscribe today to get your very own October ‘Beauty Tales’ GLOSSYBOX. As a Glossy you’ll receive not only our first revealed product from The Beauty Crop, but also four other incredible products worthy of a fairytale princess! Keep an eye on the GLOSSYBOX blog for our next product reveal in the coming days too!

4432 reviews
£13.50

I'm someone who loves getting glammed up, but I feel like I never have enough time. Frequently running between work, the gym and seeing friends means my makeup routine is quick and often touched up on the go. Therefore, beauty products that serve as multi-purpose are perfect for me - a blush that works for cheeks and lips is a must in my makeup bag!