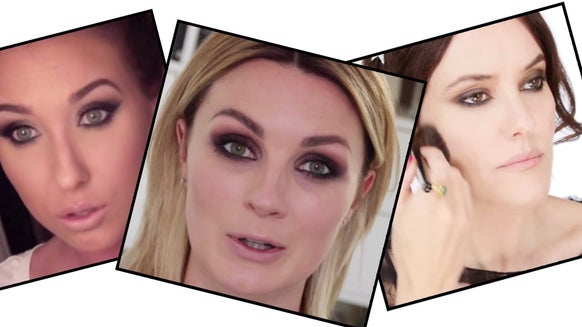
The Best Bridal Wedding Makeup
It's wedding season and so many Glossies have requested bridal makeup tutorials. I specialise in wedding makeup and I've put together a look and a guide to explain why the different techniques are important for your big day.
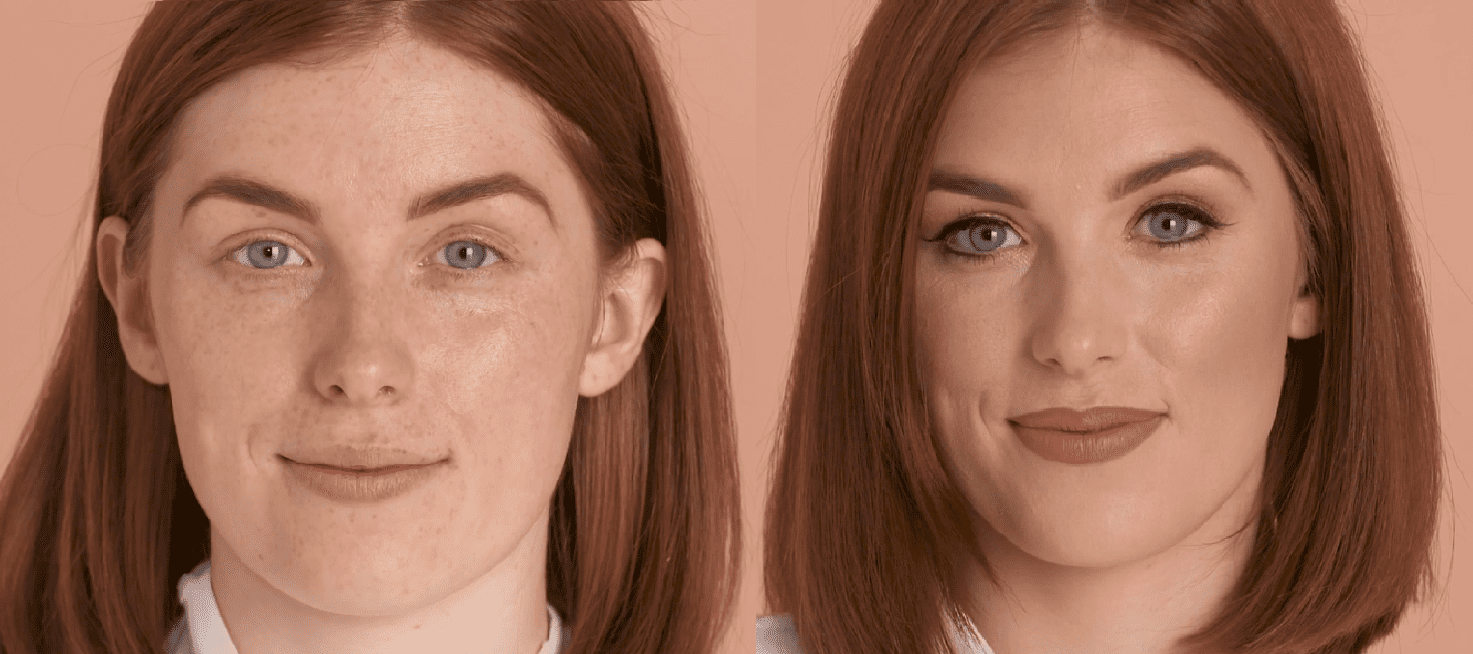
Lois is getting married in May next year so we invited her and Mum Christine to Glossy HQ to take part in a wedding tutorial video!
Here are my dos and don'ts of bridal makeup and the exact products I used to create Lois's look...
https://www.youtube.com/watch?v=RkGphV9VrTI
Mother of the bride? Don't worry you can check out my other tutorial made just for you by clicking right here.
Preparing for your big day
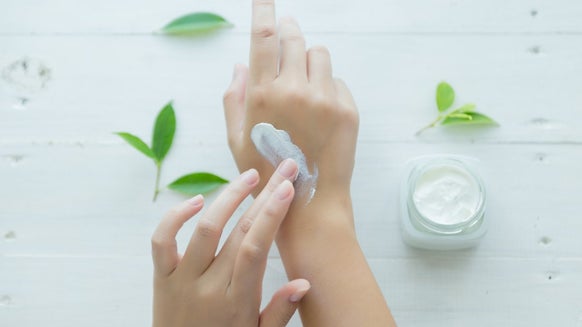
Along with a good skincare regime (you may have seen my blog on this), make sure to research and choose your makeup artist (MUA) well in advance of your big day. I recommend at least 6 months, however I can sometimes be fully booked up to 12 months in advance. I always recommend at least two trials in the lead up to the wedding.
Make sure you have an idea of the look you want to achieve and discuss this with your MUA. I recommend pulling together a mood-board on Pinterest to help. The MUA will provide their ideas, making sure we understand your skin tone and your style!
You may even choose to do your makeup yourself - if you are I hope you'll find a few tips and tricks below.
My Best Bridal Wedding Makeup Look Secrets
1. Primer
Of course, weddings are long days so making sure your makeup is long-lasting is a top priority. I used the Kiehl's Hydro-Plumping Re-Texturing Serum Concentrate, £41, to prime Lois's skin because it not only smooths your skin but it plumps it too. For younger skin, serums that act as primers are lovely and light.
Tip: After priming, always start with your eyebrow and eye makeup before foundation because you're likely to get eyeshadow fallout.
2. Eyebrows
Your eyebrows frame your face, so don’t forget to define them. I'm a big fan of the Obsession Brow Pomade range due to it's easy to blend cream formula that dries quickly and is completely smudge proof. There are seven shades to choose from and I used light brown on Lois. It's so affordable too at only £6 and has a lovely matte finish.
Eyebrows are SO important. They frame your whole face. On younger brides, you can afford to go for more of a HD brow, but on mature skin defined brows can look too harsh.
To recreate Lois's look follow these steps:
- Start by combing your brows with a disposable mascara brush or something similar
- Use a small angled brush to apply the pomade, concentrating on the lower line of the brow
Tip: If you find you get a build-up of product - keep brushing the product through until you get a natural, yet defined finish.
3. Prime the eyes
Priming your eyes is just as important as priming your skin. Your eye makeup will be put through a lot on your wedding day - chances are there'll be happy tears and a long night ahead!
I swear by the
4. Eyeshadow
Make sure you choose eyeshadow colours that are fairly natural that also complement your hair and eye colour. Your eye makeup is also dependant on your dress style too! Lois has incredible red hair so I chose neutral shades with a gorgeous bronze hue.
On Lois's eyelids I used a matte mushroom colour and then worked a darker shade still into the sockets, which really opens the eye. All these shades are from my Inglot eyeshadow palette, which I custom built. I love building my own palette and choosing each shade.
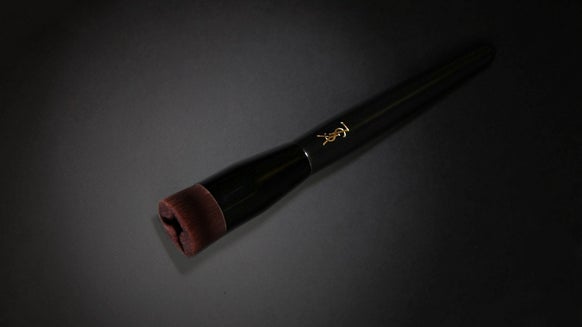
I then used the Full Metal Shadow from YSL using a flat brush, starting from the inside of the eye and joining it to the darker shades in the socket.
Brushes
Brushes can make or break your makeup. I always use Morphe and they are good value too - this whole set is only £14.
5. Eyeliner
I often use the Bourjois Liner Pinceau Liner in extra black because the fibres are flexible and fine. With liquid eyeliner, always to start with the wing first and then move inwards.
Tip: if doing it yourself use a handheld mirror so you can get as close to the eye as possible
6. Eyelashes
Tip: Before applying your falsies, apply mascara to just the root of your own lashes for extra definition.
7. Foundation
Choosing a good quality foundation is vital. I use the Sheer Glow Foundation from NARS, £33 on a lot of brides. Firstly, it doesn't contain SPF so there's no need to worry about camera flashback on photos (which can happen at night when your photographer will start to use flash).
I used the shade Gobi on Lois and as you can see on the video, it really brightens her complexion and gets that glowy finish. I use the Illamasqua IL280 brush to apply this along with my fingers as the warmth helps to blend the foundation.
8. Under-Eye Concealing
Chances are, you didn't get much sleep the night before your big day so an under eye concealer is a must.
I recommend using the NARS Radiant Creamy Concealer. It has a long-wearing, buildable formula that helps to create a soft, even finish. This is perfect for my clients as it’s non-drying and crease-proof.
9. Contouring
Contouring would be too severe on your wedding day, so I like to use a bronzer to subtly define features instead. The velvety finish of this Chanel Bronzer, £40, leaves your skin with a beautiful sun-bathed look. I apply this lightly onto places where you'd usually contour: under the cheek bones, on the hairline, the temples and jawline.
10. Set Your Contour
I set the creme-contour with the Topshop powder bronzer, £9, dusting it lightly over the top of the makeup.
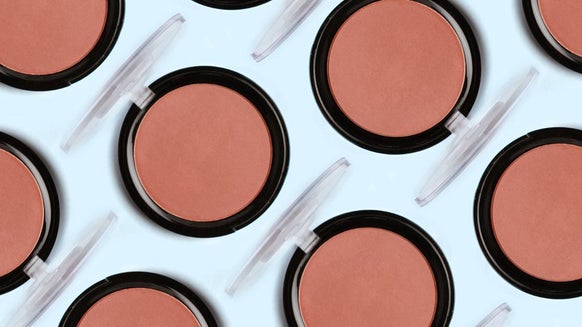
11. Blusher
Blusher adds a fresh glow! Choose a colour that highlights your complexion so for Lois I'm using the MAC blusher in the shade Margin as it's very light and has a natural-looking finish. I started with the apples of the cheek and blend outwards.
12. Highlighter
Always use a highlighter under your brows, in the corner of your eyes, on your cheekbones, lightly on the tip of your nose and on your cupid's bow. I love the Illamasqua Beyond Powder in OMG; a shimmering champagne hue that instantly warms skin.
13. Line your lower lashes
You want to gently line your lower lash line for extra definition. To do this you can use a gel liner. I recommend using the AMC Gel Eyeliner from Inglot in the shade 69 (a dark brown) because it's completely waterproof and smudge proof, which on your wedding day is so important!
14. Waterproof mascara
You've already got your false lashes on so you'll just need some mascara to blend your own lashes and the falsies together. You'll be put through a lot of happy emotions on your big day, so use a waterproof mascara to stop smudges and panda eyes!
The False Lash Architect Waterproof Mascara by L'Oréal Paris is one of the best out there. It's great for curving lashes and staying put!
15. Lips
16. Setting spray
Don't forget to finish with a setting spray for a long-lasting look. I love a setting sprays because they have an ultra-fine texture and invisible finish.
I recommend the Infallible Fixing Mist from L'Oréal Paris. It's one of the most affordable sprays I've tried at just £8.99 and one of the best. Just hold the bottle around 20-25cm away from your face and spray 2 to 4 times in 'X' and 'T' shaped motions.
The Final Look
I hope you found this tutorial useful, if you have any questions please don't hesitate to get in touch on our Facebook page. Any makeup questions or techniques you are struggling with, let me know and I'll be in touch to help.

4441 reviews
£13.50

I am always searching for future trends - beauty, fashion, hair, you name it! I’ve tried every foundation under the sun and love trying up-and-coming makeup brands to compare them with the big names. Variety is the spice of life and my makeup bag is definitely wide-ranging.