10 Most Googled Beauty Questions And Their Answers
Ever wondered what beauty secrets everyone wants to know the answer to? Well, Google has just revealed the most searched queries of 2019. From how to make your lashes longer to applying nail strips, we’re counting down the new year by answering the 10 most googled beauty questions of 2019.
10. How To Wear A Headband
I’m not surprised this was the tenth most googled beauty question in 2019. There are so many ways to wear a headband and so many great designs to choose from!
Large velvet headbands are all the rage and can be worn at any time, while a thin headband creates the perfect delicate look, and a studded or pearled headband looks great on a night out. If you decide to wear your hair up or put it in braids, then I’d recommend wearing a scarf headband.
These headbands from Johnny Loves Rosie are great options.
Buy the pearl and jewel black headband for £28 – buy the red knotted headband for £18 – buy the emerald padded headband
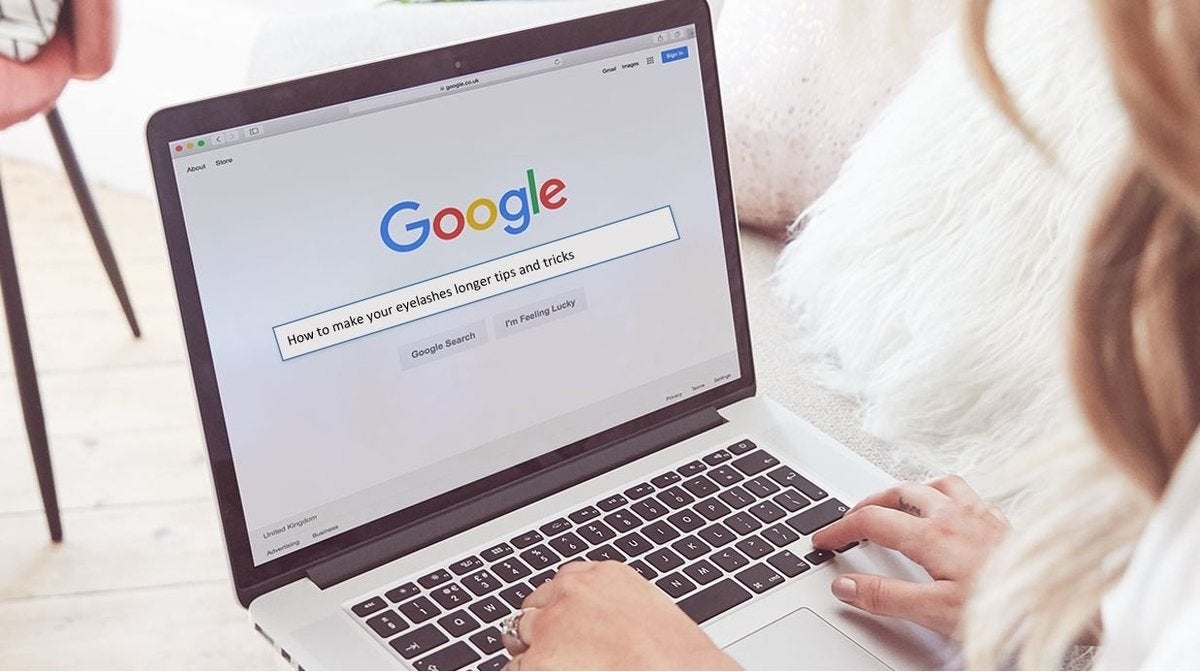
9. How to Make Your Eyelashes Longer
Let’s face it, we all wish that we had longer lashes. I can’t count the number of times that we’ve debated using lash serums in the office.
If you’re looking to make your lashes longer, you have a few options:
Extensions: This is a semi-permanent way of getting longer, thicker and curlier-looking lashes. A beauty technician will hand glue individual lashes on top of your natural lashes to make them looker fuller and more voluminous. A set lasts anywhere between 2 and 4 weeks, so it’s not the best long term option. It is a great quick-fix solution before an event though! Perms: If you’re concerned about damaging your natural lashes, or don’t want the hassle of the upkeep, you could opt for a lash perm instead. A beauty technician will use chemicals to relax your lashes, then apply curlers to reshape them. They’ll still be your natural lashes, only they’ll look more lifted and curlier. Serums: Filled with nutrients, these serums condition your hairs, helping them to grow faster and longer. Prices vary but reviewers agree that RapidLash works just as well as its pricier counterparts.
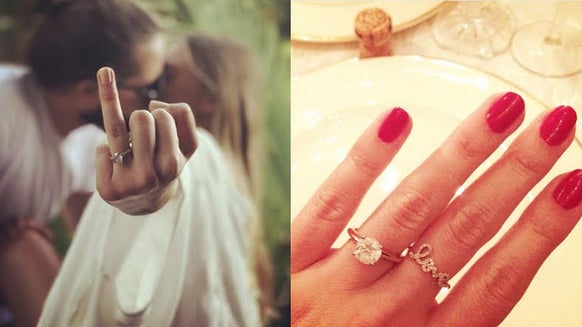
8. How To Make Your Nails Grow Faster
I’ll be honest, it isn’t easy to make your nails grow faster. If you have brittle nails that are prone to breakage, the best way of making them longer is to make them stronger.
Here are a few best practice tips:
Use a cuticle oil (the Nailberry Little Treasure Nourish Cuticle Oil is a great choice) or a cuticle cream to keep your nails moisturised. Add biotin to your diet or take biotin supplements. It is full of amino acids that help your body to build protein and healthy cells, both of which are essential for nail growth. - Don’t pick your nails. This may seem a bit obvious, but if you really want healthy nails, you need to look after them right. Avoid biting your nails and don’t forget to cut and file them regularly. You’ll need to keep them short until they become strong, then you can grow them out.
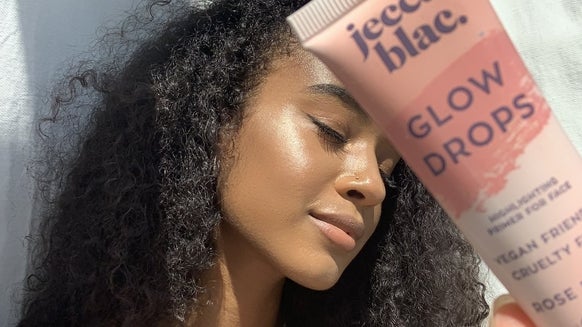
7. How To Apply Primer
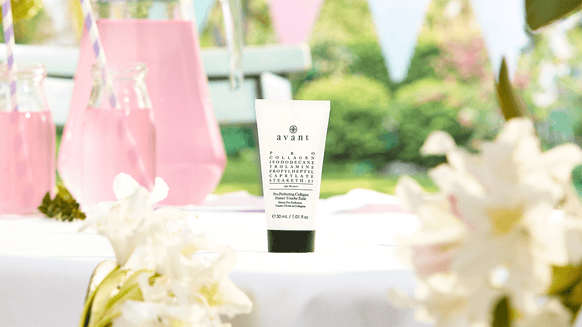
From various essence primer sprays in our March box and Avant’s cream primer in our June edit, to bareMinerals’ primer in our Limited Edition and
You’re no doubt an expert at applying them by now, but just in case you need reminding:
- Use a primer after cleansing and moisturising, but before applying your makeup.
- For a spray primer: Close your eyes and mouth, then spritz four or five sprays over your face and neck and massage it into your skin.
- For a cream primer: Apply the primer from the centre of your face and work your way outwards, then apply it to your neck using upward, sweeping motions.
- For an oil primer: Massage it into your skin, then leave it to sink in. When your skin doesn’t feel dewy anymore, you can starting applying your makeup.
Primer really is the key to a smoother-looking base, so I’m so pleased that beauty lovers across the UK are starting to incorporate this makeup bag essential into their routine.
6. How To Apply Mascara
You wouldn’t have thought that makeup fanatics would be questioning the right way to apply mascara, but with all the different sized and shaped wands out there, there is a definitely a skill involved.
Applying mascara can be a great way of brightening and opening your eyes. To achieve this look:
- Always wipe off any excess product using a tissue.
- Focus on the lashes in the centre of your eyes. Place the brush at the root of your lashes and wiggle the wand through them as you bring it upwards.
- Then, use the thin tip to reach the smaller lashes in the outer and inner corners of your eyes.
- Next, apply extra coats to the ends of your lashes to give them extra lift and volume.
- Repeat this process on your lower lashline.
I like a thin-headed mascara brush, but you can also opt for a thicker one or go for a combination of both:
5. How To Apply Self-Tanner
When you live in the UK (and the sun regularly fails to make an appearance), applying tan is a must. If you still struggle to get an even, streak-free finish, these tips will help:
- Exfoliate: By scrubbing away the dead skin cells on your skin, you’ll not only create a smooth surface over which to apply your tan, but it will make your golden colour last even longer, as your tanned skin cells won’t just slough away!
- Shave: If you usually shave your legs, make sure that you do this before applying your tan so that you don’t shaving away any of the skin you’ve just tanned.
- Moisturise: For a streak-free finish, make sure your skin is well moisturised. Tan tends to latch onto dry skin, making your tan look patchy.
- Apply: Now that you’re ready to apply your tan, you can use a large tanning glove to sweep the product over your whole body using large circular motions. Make sure that you wash your hands after too.
For a full tutorial, you can check out this article.
4. How To Apply Liquid Foundation
I think that we can all agree that while liquid foundation is our BFF when it comes to covering up blemishes and achieving a dewy finish, it is (sadly) prone to crease, melt and slip away. So, it’s no surprise that this was one of the most googled beauty questions of 2019.
Luckily for you, I’ve got a simple guide to help you to apply liquid foundation flawlessly:
- Prime: To ensure that your foundation has the best possible finish, make sure that you have a silky smooth base to work off.
- Choose your weapon: There are three ways to apply foundation: with a brush, with a makeup sponge or with your fingers. The last two will give you a full-coverage finish, while a brush creates a lighter effect.
- Apply: Dispense a small amount of product onto the back of your hand, then use your chosen tool to blend it onto your skin. Work from the outside in, starting with your cheeks and working in towards your nose.
- Set: To ensure your foundation stays put, you next need to apply a powder over the top. Setting, banana or rice powder will do. Collect your chosen powder using a large fluffy brush, then buff it over your whole face.
And there you have it, four simple steps to apply liquid foundation. For more details, check out this article. If you’re looking for a new liquid foundation, I’d recommend the below:

3. How To Apply Blush
Contrary to popular belief, applying blush isn’t just a matter of dabbing it onto the apples of your cheeks. Instead, you should be applying blush according to your face shape.
- Heart-shaped: With a heart-shaped face, you shouldn’t just focus on your cheeks. Instead, you want to create a soft, blended look. Apply blush to your cheekbones, sweeping from your ear down to the corner of your eye.
- Square: If you’ve got a strong jawline, using blush to define your cheekbones will help to soften the edges of your face. Apply your blush slightly below your cheekbones a few inches from the side of your nose.
- Oval: For those of you with an oval face, you’re lucky enough to be able to pull off most blush looks. You can either apply it to the apples of your cheeks and blend, or add a little colour just above your cheekbones.
- Round: If you want to slim your round face, sweep your blush from your temples along your cheekbones and down towards your mouth. Don’t forget to blend well. You can then make your face appear longer by adding a touch of blush to your chin too.
- Long: If you’re looking to shorten your features, make sure that no colour extends past the tip of your nose. Instead, you want to apply blush to the apples of your cheeks and blend it out towards the temples.
For the full details, check out this article. Of course, if you’re looking for a new blush, these are great choices:
2. Apply False Lashes
While it might take a little while to learn how to apply lashes like a pro, when you get the hang of it, nothing seems easier. Here’s how:
- Cut your lashes to size: Measure your false eyelash strips by resting them against your lash line. If they are longer than your natural lash line, you’ll need to trim them to size. Cut off the excess from the outside edge and trim them at the vein.
- Apply glue: Apply lash glue along the vein of the false lashes and leave it to set for 10 to 15 seconds.
- Apply the lashes: Tease the lashes as close to your natural lash line as possible, then press them into place at the outer edge, in the middle and at the inner corner of your lash line. Next, use tweezers to carefully squeeze the false lashes down onto your natural lashes.
- Set with mascara: Apply a light layer of mascara to your natural lashes to marry them together with your falsies.
For the full details, check out this article. Of course, if you’re looking for some false lashes, the LASplash Golden Gatsby 3D Faux Mink Lashes from our December box are a great choice:
1. How To Apply Nail Strips
If you never have the time to apply nail polish properly (so that it doesn’t chip after just a couple of days) or the budget to consistently go to a manicurist, then you’ll love nail strips.
Made from real nail polish, nail strips consist of a set of nail-shaped patches that you apply directly onto your nails.
- Peel off the see-through protective layer on top of your nail strip.
- Peel off the protective layer beneath the strip.
- Line the strip up with your nail and apply it as close to your cuticle as possible.
- When it’s aligned and straight, press the strip onto your nail.
- File or cut off any excess.
There you have it, Glossies. The 10 most googled beauty questions of 2019. I can’t wait to see what 2020 will bring…
Join Us In 2020
To always stay on-trend, subscribe to GLOSSYBOX are receive 5 must-have beauty products delivered straight to your door every month. Trust me, you won’t want to miss out on our January edit.