Upscale Your Glossybox: DIY Hanging Shelves
If you’re a long time GLOSSYBOX subscriber, then you’ve no doubt got a pile of boxes lying around that you’re wondering what to do with. Don’t let them go to waste or hide them away in a drawer. Instead, turn your empties into stylish DIY hanging shelves for all your beauty products. Here’s how to make a three-tiered one...
How To Turn Your GLOSSYBOX Into Shelves
You will need:
A couple of empty boxes A pencil A strong black ribbon or rope A hook to hang your shelves off
Your DIY Hanging Shelves Tutorial
Step 1 : Preparing Your Boxes
Take your two boxes and remove the lids. Place both bottom halves upside down onto the table so that the base is facing you, then place one of the lids onto the table next to them.
Next, use the tip of a pencil to create a hole in all four corners of both bases and the lid.
Step 2 : Add The Supporting Ribbon
Take your black ribbon or rope and cut it into 4 long, equal-length pieces (I’d recommend starting with about 1 meter for each). Then, take your first box and thread a piece of ribbon through each hole, tying it in a knot at the end, below the base, to secure it in place.
Step 3 : Decide How Big You Want Your Shelf To Be
Measure the distance that you want between each shelf. The lower shelves should take the most weight, so I’d recommend making this long enough to fit your large bottles.
Step 4 : Create A Support For Your Next Shelf
Step 5 : Add The Second Shelf
Step 6: Add The Final Shelf
Repeat steps 4 and 5 to secure your third shelf in place. We choose to use the lid for this shelf, but you can use another base if you prefer!
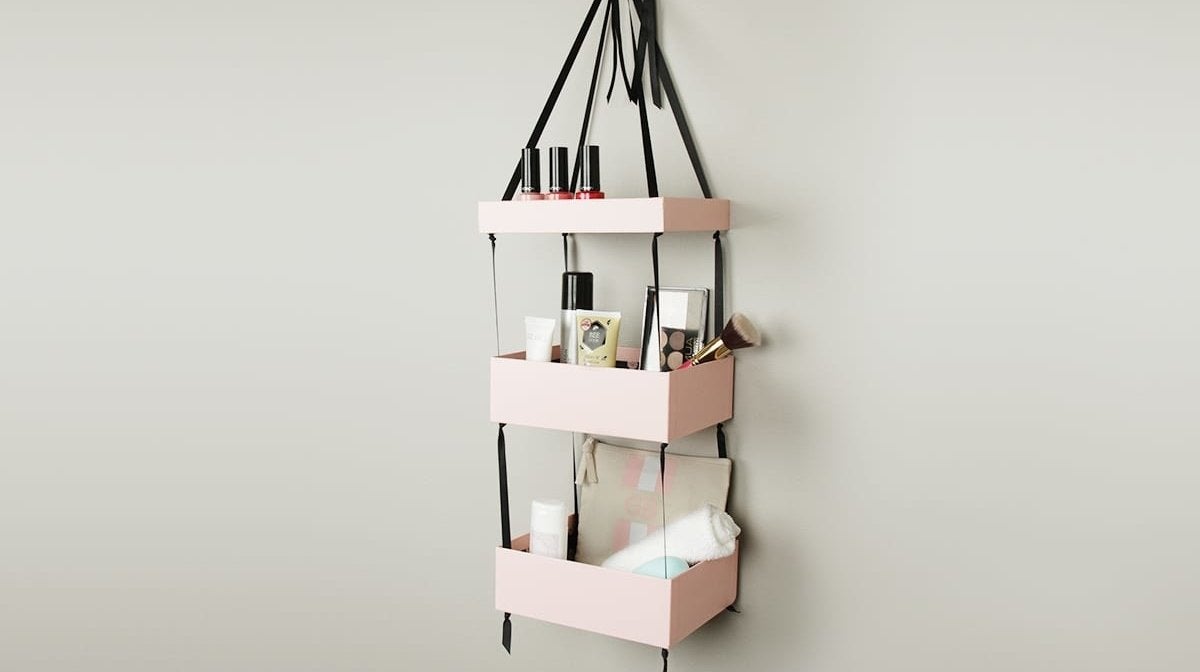
Step 7: Hang Your Shelves Proudly
Your shelves are now ready to be hung up! We tied the ends of our ribbons together into a bow, then hung them from a hook on the wall.
And that's how to turn your GLOSSYBOX into DIY hanging shelves!
Subscribe To GLOSSYBOX

4432 reviews
£13.50