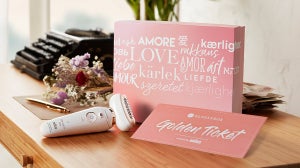
Chances are, you’ll have collected a fair few of our boxes by now - which is precisely why we've started sharing ideas for upscaling them - the personalised letter light being a personal favourite of ours (one of the team currently had it on her desk).
This week we're using two of our old boxes to create a bit of extra storage for our beauty products, by way of a makeup organiser.
Here's how to make it yourself - and don’t forget to share your own upscaling ideas with us!
Step 1 : On the shorter sides of each box, mark a small hole approximately an inch in so that the holes are parallel with each other. There will be four holes in total.Step 2 : Carefully, with scissors, make a hole in each of the marks.

Step 3 : Cut your GLOSSYBOX ribbon in half and tie it through each of the holes on one side - a ribbon through the left, and one through the right.Step 4 : Use black tape to secure the two boxes together against the width of the box, making sure they are secured at a 90 degree angle.

Step 5 : Secure the ribbons with a knot at either hole.Step 6 : Take the lid, and carefully cut each of the sides off along their edges so that you have 5 neat parts.

Step 7 : Depending on how many sections you wish to have in your beauty organiser, cut incisions into some of the newly cut edges. Then, slot the pieces together.Step 8 : Place the components into the box and arrange so your have your different sections neatly in place.

Step 9 : In the lid of the box, make a hole with scissors in the centre of the front panel and carefully secure your chosen handle in place.Step 10 : If you have a mirror, neatly tape inside the lid. There you go - all your favourite GLOSSYBOX products are now neatly displayed!